

Before you begin
Make sure you have:- A terminal open in a code project
- A Git repository (recommended for the full workflow demonstration)
Step 1: Install and start opensre
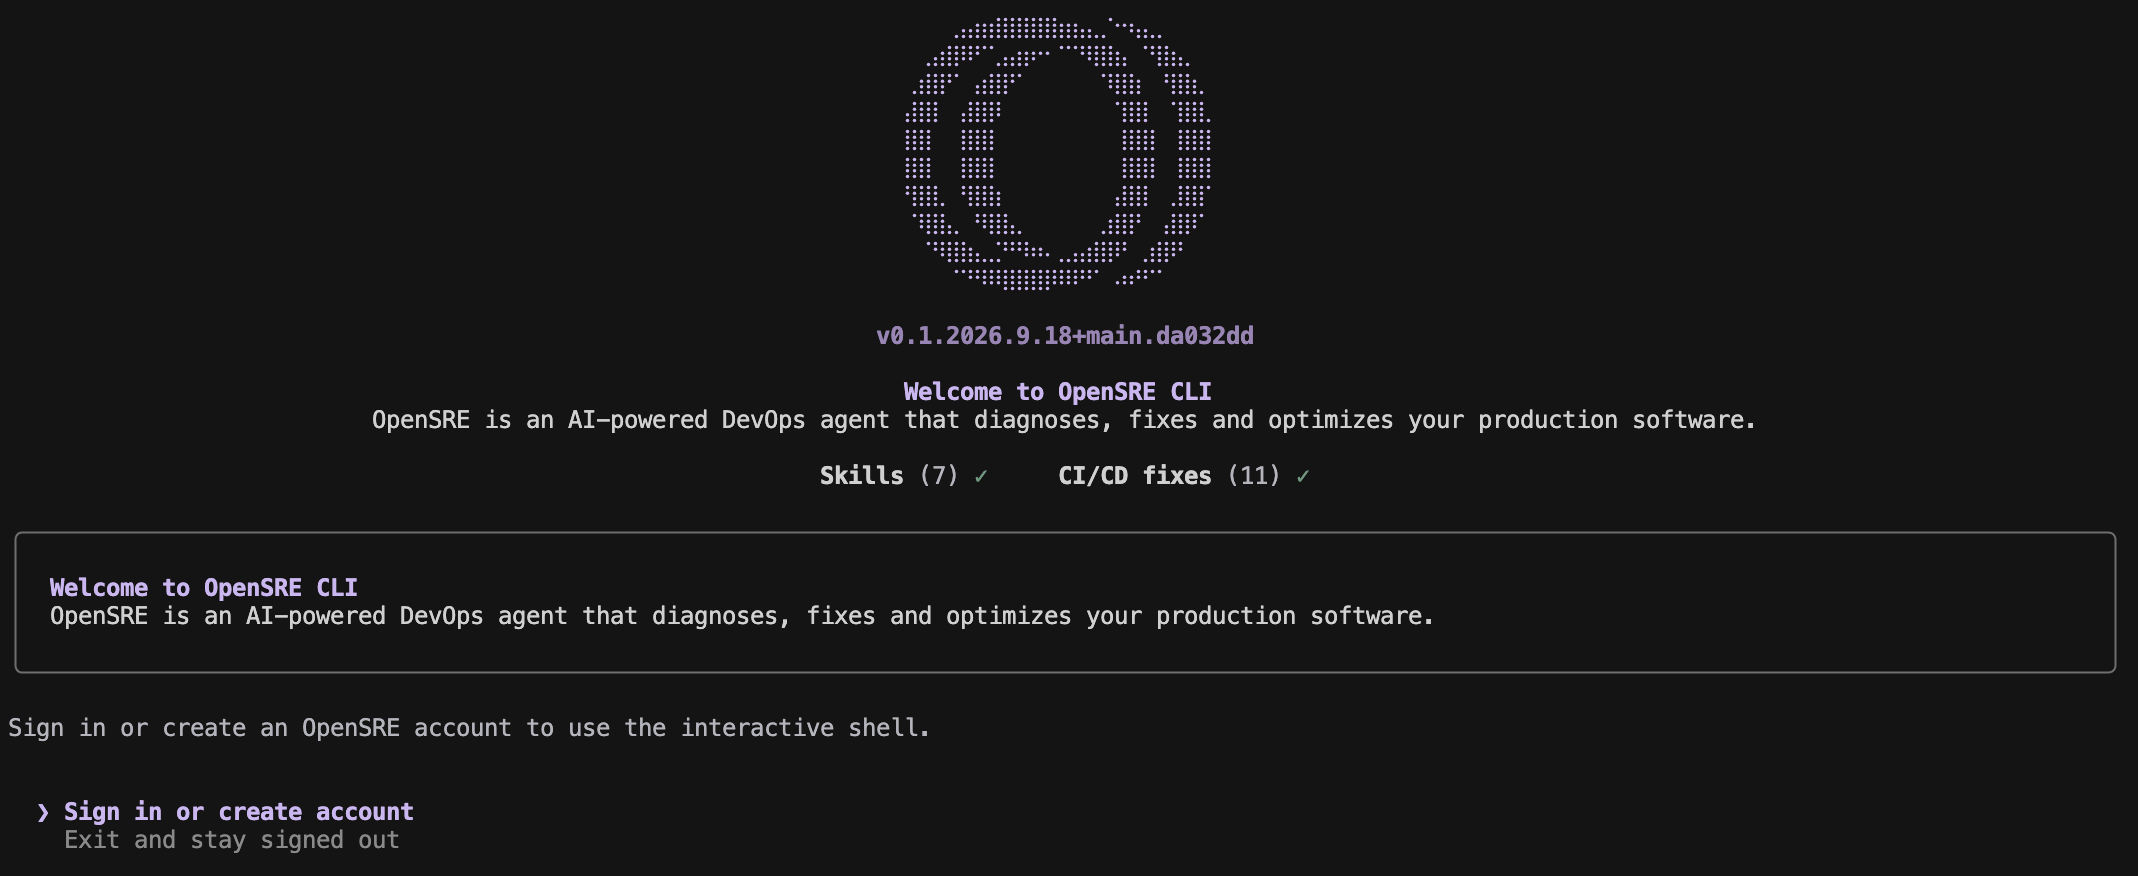
sudo. The installer uses a writable directory on your PATH when it can. Otherwise, it uses ~/.local/bin and prints how to add that to PATH.
For platform requirements, see macOS, Linux, or Windows with WSL. For a container, see Docker.
Step 2: Sign in
Choose Sign in or create account in the welcome screen. Your browser opens the OpenSRE sign-up page. Create an account or sign in using email or another enabled provider; a successful login activates the hosted model. OpenSRE opens the shell only after the webapp validates that account session. GitHub remains an optional integration you can add later. When developing the webapp locally on port 3000, use:opensre shows the account gate. Other CLI commands remain available; the interactive shell does not.
Step 3: Open the shell
The sameopensre command revalidates the webapp account on every start. Expired, revoked, incomplete, or unreachable account state returns to the sign-in gate instead of constructing the REPL or a model client.
Where credentials are saved
OpenSRE saves non-secret identity and hosted-model metadata in owner-only account metadata. The account token uses the local secret store and is not written toaccount.json; integration credentials are stored separately.
OPENSRE_ACCOUNT_TOKEN overrides the saved account token when set. Never commit it to .env or source control. Run opensre account logout to revoke the saved session; an environment override must be unset separately.
Step 4: Check your tools
Inside the shell:opensre (for example opensre integrations verify).
Step 5: Ask a first question
Start the shell and describe what’s going on in plain English:Where to connect tools
The full tool list lives under Integrations, not Install. Start at Integrations overview, then open each provider page for keys, permissions, and examples.Related
- Quickstart — install, sign in, and ask a question with screenshots
- Deployment — gateway and hosted options beyond a single laptop